
7 Tips for Choosing the Best Plastic Extruder
Choosing the right Plastic Extruder can shape product quality, production costs, and the confidence of everyone on the factory floor. A machine may look impressive in a brochure, yet perform poorly with your resin, die, or target output. The details matter: screw design, barrel heating, cooling capacity, control accuracy, and access for routine maintenance. A few degrees of temperature drift can change melt behavior. A poorly matched screw can leave you chasing inconsistent dimensions across a long production run.
Extrusion specialist Chris Rauwendaal’s work points to a practical principle: “Choose an extruder around the material and process requirements, not headline speed alone.” That is a useful way to assess competing machines. Ask suppliers for relevant test data, material-specific recommendations, and clear explanations of operating limits. Where possible, inspect a running line and examine sample products under realistic conditions. Look closely at the controls. Are readings easy to understand? Can operators spot a problem before scrap builds up?
There is no perfect machine for every plant. Not even close. A smaller operation may value straightforward changeovers, while a high-volume facility may prioritize uptime and automation. Budget matters, but purchase price rarely tells the whole story; energy use, spare parts, training, and service response also affect ownership costs. Be honest about what you do not know. Some decisions become clearer only after trials. The following seven tips offer a grounded framework for comparing a Plastic Extruder, asking better questions, and choosing equipment that fits your actual production needs.
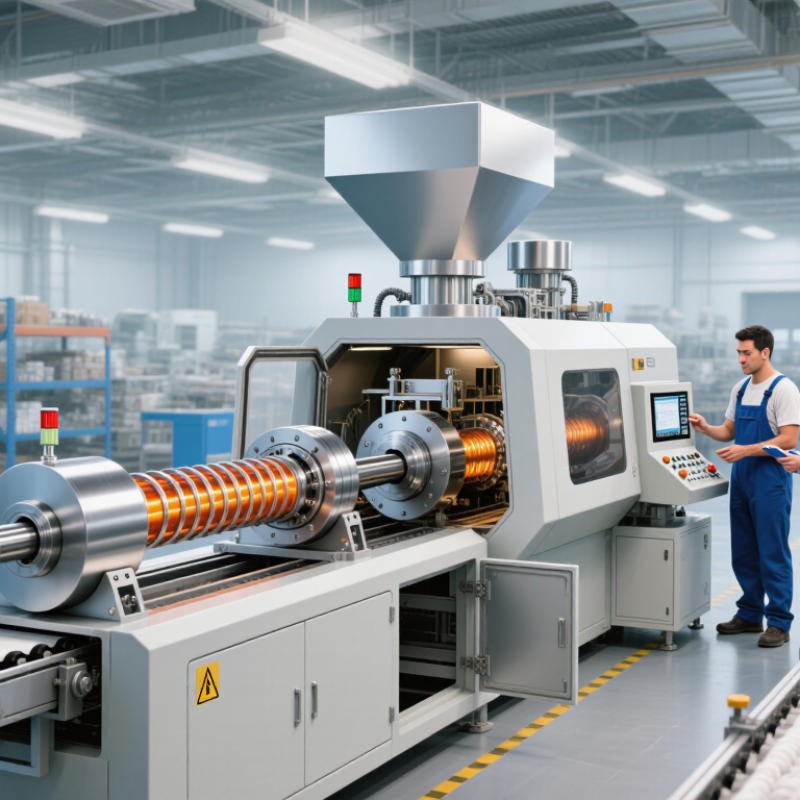
Define Production Needs and Target Material
Before comparing machine sizes, define the production job in measurable terms. Record the expected output per hour, operating hours per shift, product dimensions, and acceptable variation. Include both routine demand and short peak periods; sizing only for a best-case run can leave a line struggling later. Small details matter. Note whether frequent color or product changes are part of the schedule, since changeovers affect usable production time.
Then identify the exact material grade, not just a broad category such as polyethylene. Different grades can vary in melt flow, processing temperature, and sensitivity to heat or moisture. Check the material supplier’s processing data, along with any fillers, colorants, or recycled content in the formulation. Those additions can change flow and wear. A datasheet helps, but it is not the whole truth. Real production conditions are messier.
Match the extruder’s screw design, heating capacity, and feed system to the material and target output. Ask how operating limits were established, and request a trial using a representative sample when practical. Watch for unstable pressure, uneven output, or changes in product dimensions during the run. A trial cannot predict every production issue, but it can expose assumptions before installation.