7 Tips for Choosing Automotive Oscillators
Automotive Oscillators help electronic systems keep accurate timing, from engine control and driver assistance to in-vehicle networks. Choosing one involves more than matching a frequency printed on a datasheet. The device must operate reliably through temperature swings, vibration, electrical noise, and years of use. Small details matter. A frequency that looks suitable at room temperature may drift beyond the system’s tolerance near a hot engine bay or during a winter start.
These seven tips focus on the practical checks behind a sound selection: frequency stability, phase noise and jitter, supply requirements, startup behavior, package and mounting, environmental qualification, and supplier documentation. Compare specifications across the full operating range, not just typical laboratory conditions. Also check whether the oscillator’s qualification evidence matches the application and the vehicle maker’s requirements; labels alone do not prove suitability. Heat changes things. So can board layout.
A datasheet can look reassuring and still leave a gap, especially when test conditions are unclear. Ask for measured performance, lifecycle information, and traceable quality records when the design depends on them. Then validate the part in the actual circuit, with realistic loads and temperature conditions. No checklist replaces testing. These tips offer a disciplined starting point, while recognizing that the best choice depends on the system’s timing budget, operating environment, and risk tolerance.
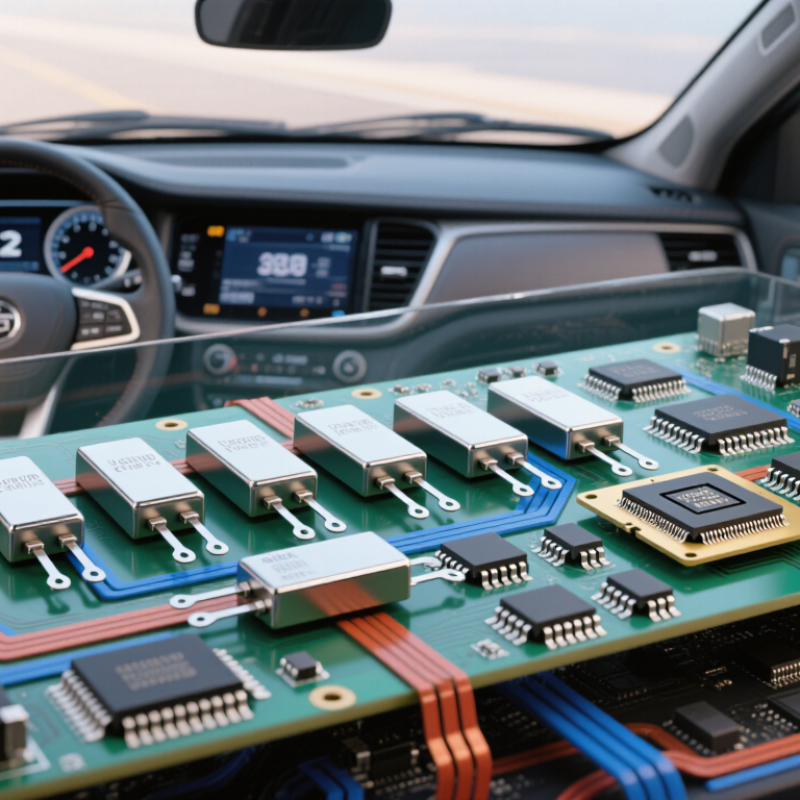
Identify the Oscillator’s Required Frequency and Operating Conditions
Before choosing an automotive oscillator, define the clock frequency your circuit actually needs. Check the processor, communication interface, and timing requirements, including allowable frequency error. A nominal value alone is not enough. A 40 MHz design, for example, may require a specific tolerance across temperature and supply variation. Small errors matter. Confirm whether the specification includes initial tolerance, temperature stability, aging, and load effects.
Next, map the oscillator’s operating conditions to the vehicle’s real environment. Check the required temperature range, supply voltage, startup behavior, and output load. A supply dip during engine cranking can affect startup or clock stability, so review the device’s operating limits rather than relying on a typical-value table. Also consider vibration and electrical noise near the installation point. The board layout matters too; long clock traces can pick up interference or distort signal edges.
It is tempting to select the closest frequency and move on. That can miss an awkward detail, such as a clock that starts too slowly after a cold soak. Compare the datasheet limits with measured conditions from the target system, and leave margin where practical. If the requirement is unclear, ask the design team whether frequency tolerance applies across the full temperature range or only at room temperature. That question can prevent a costly redesign.
7 Tips for Choosing Automotive Oscillators
Identify the Oscillator’s Required Frequency and Operating Conditions
These are illustrative reference frequencies, not universal requirements. Check the target IC’s datasheet for its exact clock frequency, tolerance, stability, and drive requirements. Also confirm that the oscillator’s specified operating-temperature range covers the conditions where it will be used.
Compare Frequency Stability, Accuracy, and Aging Performance
When choosing an automotive oscillator, compare frequency stability, accuracy, and aging as separate measures. They answer different questions. Accuracy describes how close the output is to its nominal frequency under specified conditions, often at room temperature. Stability shows how much it shifts with temperature, supply voltage, or vibration. An oscillator can look accurate on a bench and still drift inside a hot dashboard.
Check performance across the full operating-temperature range, not just at room temperature. A vehicle module can move from a cold start to a sun-heated cabin within hours. Review whether stability specifications include supply and load variations. For timing-sensitive systems, calculate how a stated ppm error affects the total clock budget. Datasheet figures help, but measurements on representative boards can reveal practical differences.
Aging is gradual frequency change over time, often specified per year. Check whether the figure is guaranteed or typical, and what conditions apply. For long service life, allow margin for aging as well as temperature stability. Avoid choosing the tightest specification automatically; it may add cost without improving system performance. Board stress and soldering can also complicate comparisons. That deserves a second look. Compare units after thermal cycling and sustained operation, then record the observed drift. Not glamorous, but useful.
Evaluate Temperature Range, Vibration Resistance, and Reliability
7 Tips for Choosing Automotive Oscillators
Evaluate Temperature Range, Vibration Resistance, and Reliability
An oscillator near an engine or dashboard may see sharp temperature swings. Check its rated operating range, then compare frequency stability across that entire range. A part that starts reliably at room temperature may behave differently after a cold start or prolonged heat soak. Review startup time, too. Small details matter.
Vibration ratings need context. Ask how the component was tested, including vibration frequency, acceleration, and mounting method. A test fixture may not reproduce a real circuit board, where flex can stress solder joints. Check whether the oscillator’s package and board layout suit the installation. The datasheet may not tell the whole story.
Reliability depends on more than a headline rating. Review aging data, supply-voltage limits, and any qualification information relevant to the vehicle environment. If possible, test sample boards through temperature cycling and vibration while monitoring frequency drift. Keep the test setup realistic; an ideal lab fixture can hide weaknesses. I would not treat one successful test as proof of long-term performance. Recheck assumptions when the board, enclosure, or mounting changes.
Review Compliance, Supplier Quality, and Long-Term Availability
When selecting an automotive oscillator, check that its qualification matches the actual operating environment. A cabin module and an engine-bay controller face different heat, vibration, and moisture conditions. Review applicable automotive qualification documents, test conditions, and any stated limits. A certificate alone does not prove the part suits your board layout or mission profile. Details matter.
Supplier quality deserves equal scrutiny. Ask for lot traceability, inspection criteria, reliability data, and a clear process for notifying customers about design or manufacturing changes. Confirm how the supplier handles nonconforming parts and investigates failures. A useful audit looks beyond polished presentations: examine sample records, change histories, and corrective-action reports. Paperwork matters. Still, a checklist can miss how consistently a process works under pressure.
Long-term availability should be discussed before the design is frozen. Request lifecycle forecasts, planned product-change notices, and realistic lead-time information. Check whether production capacity and approved manufacturing sites can support your expected volumes. Consider a qualified second source, but compare electrical behavior and qualification evidence before assuming parts are interchangeable. Keep dated supplier statements with your design records. Ask again. Forecasts change, and even careful teams can underestimate how long a vehicle program will need replacement components.
